

Setup & config options
Suitable power supply
RasPi & sFTP file transfer
Home network print server
Home network scan server
Mesh : home Lan USB drive
Explore hard & software
UFW firewall explained
Secured by fail2ban server
Software packaging & PPA
Apache 2.4+ LAMP server
https web server : port 443
Varnish caching proxy
Module : cgi & perl
Module : geoip
Modules : php & mysql
http*s error handling
Server : conditional logging
TL-domain & dynamic DNS
Webalizer log analyser
Defeat referrer spam
robots.txt & xml sitemaps
Server : .htaccess handling
The game & not the islands
Setup & config options
North Atlantic : Macaronésia
🚫 No ads & tracking
![]()
![]()
![]()
![]()
![]()
The prologue
Most of the articles, descriptions and instructions written here are applicable to the most common Debian-based Linux derivatives. Depending on the respective operating system, there may be minor or major discrepancies.  This website is for educational purposes only. Please do not deploy anything in manufacturing plants.
No warranty or compensation is given for loss of data or hardware.
It should be also mentioned that this modest web server is hosted on a Raspberry Pi type 4B at home.
The Raspberry Pi mini-computer board as multi-purpose server deployed
A competent allrounder for domestic purposes and micro-enterprises
![]()
![]()
Raspberry Pi is a series of small single-board computers (SBCs) developed in the United Kingdom by the Raspberry Pi Foundation in association with Broadcom. The mini-computer with its armv7l processor has quickly become the favourite of hobbyists. Projects can be started with suitable Linux distributions. Even an aged RaspPi e.g. the models 2B and 2B+ can definitely serve to simple tasks quite well.
Caution Proprietary and untested third-party software sources (Linuxes) can threaten the system.
 Install, configure and run Pi-hole on the Raspberry Pi
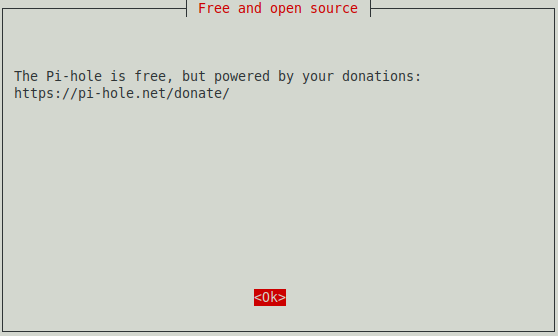
Pi-hole is a free software with the function of a tracking and advertising blocker as well as an optional DHCP server. Pi-hole is based on a Linux system and has been developed for use on very small computers in the sense of an embedded system. It is widely used on computers of the Raspberry Pi series. The software is integrated into an existing network as a DNS server and is thus available to all devices in the network whose DNS settings can be configured.
![]()
There have been many reports about new versions of Pi-hole. Likewise, services that work together with Pi-hole and complement it, such as »PiVPN« and »Unbound«, have been reported. Pi-hole is a very useful application to centrally protect all devices at once within the local home network (mesh).
This means you don't have to install ad blockers and tracking filters on every device (notebook, smartphone, tablet, etc.). As the name suggests, Pi-hole is mainly installed and used on a Raspberry Pi. But operation is also possible on any other computer or cloud server. ![]() https://docs.Pi-hole.net/
https://docs.Pi-hole.net/
The installation for only one computer in the home network makes no sense at all. Use a blocker like the »uBlock Origin instead.«
user@raspberry:~ $ sudo su
login as: user
user@raspberry's password: ******
root@raspberry:/home/user# ▁
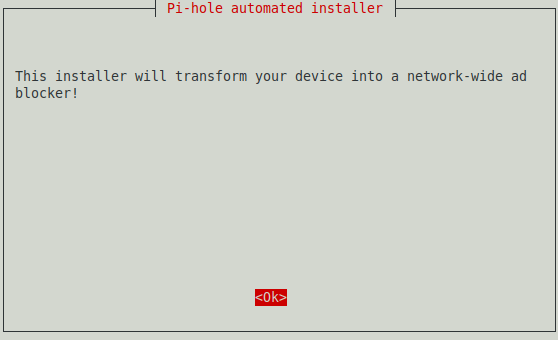
The automatic installer is started from the terminal by the following commands :
root@raspberry:/home/user# curl -sSL https://install.Pi-hole.net | bash
  [✔] Root user check
      ...
  [✔] Update local cache of available packages

  [✔] Checking apt-get for upgraded packages... up to date!

  [i] Checking for / installing Required dependencies for OS Check...
  [✔] Checking for grep
  [✔] Checking for dnsutils

  [✔] Supported OS detected
  [i] Checking for / installing Required dependencies for this install script...
  [✔] Checking for git
  [✔] Checking for iproute2
  [✔] Checking for whiptail
  [✔] Checking for ca-certificates
      ...
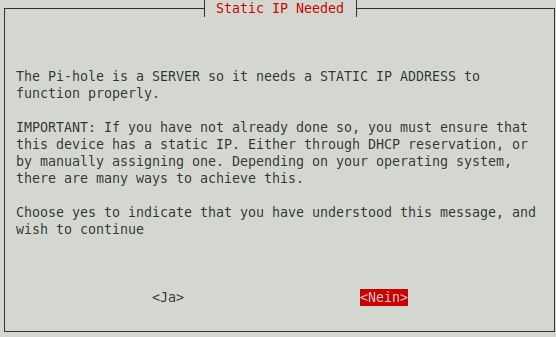
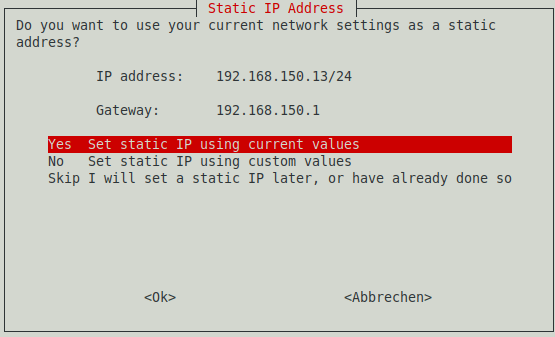
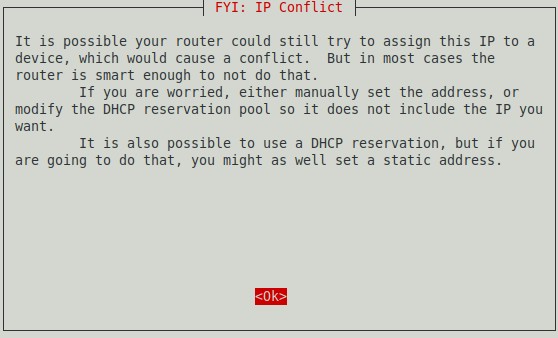
The Pi-hole should of course have a static IP address so that it is always accessible.
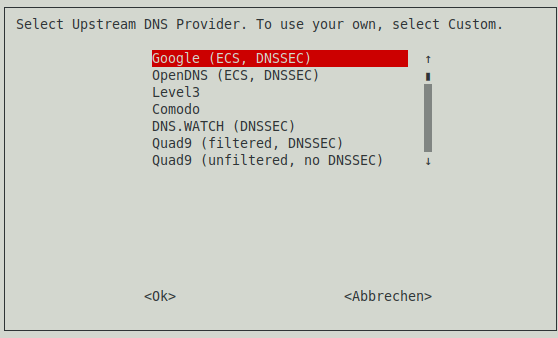
At this point you can set the preferred DNS provider, but this can also be changed afterwards on the administrative web interface.
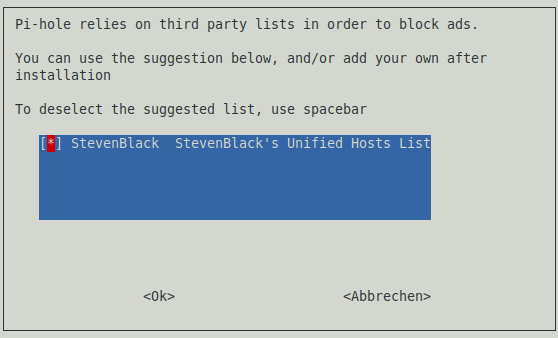
Then you set a predefined block list. This can also be changed and extended as desired.
The admin web interface should be installed in any case.

The web server used is lighttpd, if you want to use a different one you can enter this here.

Log files should also be able to be generated.
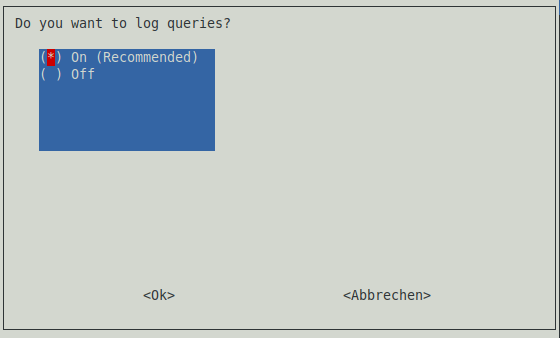
The level of details in the log files.
![]() https://docs.Pi-hole.net/ftldns/privacylevels/
https://docs.Pi-hole.net/ftldns/privacylevels/

The installation is now completed. The static IP address and password will be a different one.
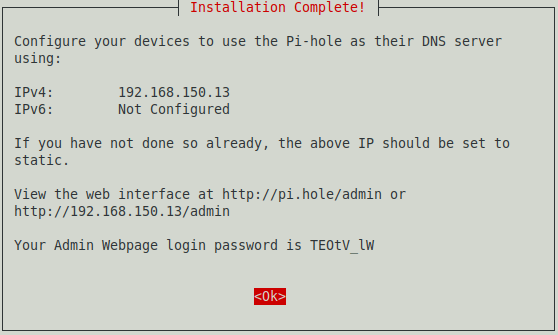
 [✔] Cleaning up stray matter
    [✔] UDP (IPv4)
    [✔] TCP (IPv4)
    [✔] UDP (IPv6)
    [✔] TCP (IPv6)

  [i] Pi-hole blocking will be enabled
  [i] Enabling blocking
  [✔] Reloading DNS lists
  [✔] Pi-hole enabled
  [i] Web interface password: TEOtV_lw
  [i] This can be changed using 'pihole -a -p'

  [i] View the web interface at http://pi.hole/admin or http://<static-IP>/admin

  [i] You may now configure your devicesto use the Pi-hole as their DNS server
  [i] Pi-hole DNS (IPv4): <static-IP>
  [i] If you have not done so already, the above IP should be set to static

  [i] The install log is located at: /etc/pihole/install.log
  Install Complete!
The default admin password can be changed at any time in the terminal.
root@raspberry:/home/user# pihole -a -p
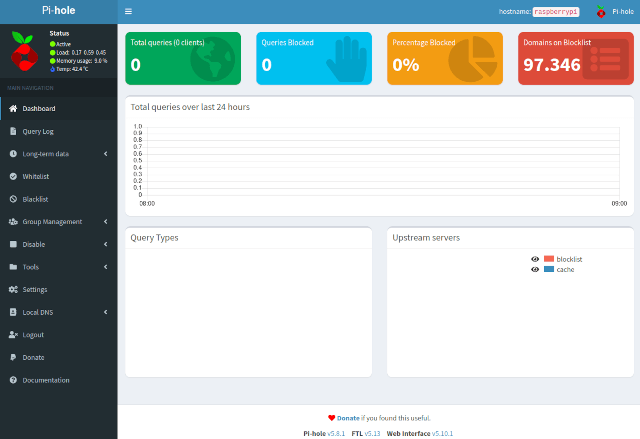
After the installation is complete, you can log in to the admin interface and switch to the admin area with the specified password for the web interface.
The most important point is the setting of the DNS server to be used.
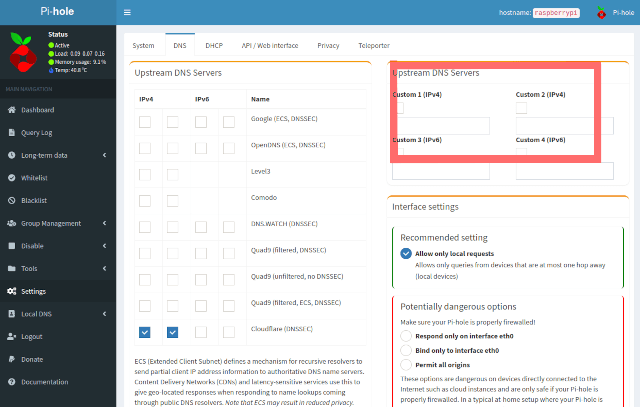
In the bordered area, you can enter your own DNS server, for example. Under Tools you can update the block lists at any time with »Update Gravity«. To update the entire Pi-hole if a new version is offered, this can be done on the command line with the following command :
root@raspberry:/home/user# pihole -up
Of course, the router must be informed that from now on Pi-hole will take over the job as DNS server. For example, this setting can be found under Home Network => Network Settings. Then every device that logs on to the network via DHCP will automatically receive the address of Pi-hole as DNS. There are plenty of instructions on the net on how to integrate additional block lists.
25-Feb 2021